Custom branding your WordPress dashboard may not be necessary for the daily operations of your blog, however, sometimes it looks good. Here is a short tutorial on how to put your logos on the various places within the WordPress dashboard for administrators.
First up, you should change the default WordPress logo with your custom logo on the administrative login page, which is usually found at http://www.yourblog.com/wp-admin. You can achieve this by following the steps below:
- Install an FTP Client. This will allow you to access the files on your server. My personal favorite is FileZilla and you can download it here.
- Access the admin-bar-sprite.png by pointing to the following directory structure within your server: public_html/yourblog/wp-includes/images/admin-bar-sprite.png
- Download the admin-bar-sprite.png to your computer and open it with Photoshop (any version will do).
- Now, just erase the default WordPress logo and replace it with your custom one.
- Remember not to change the dimensions at all by trying to fit in your logo in the default space provided.
- Also make sure your logo is cleared off any white space by using the Magic Eraser tool in Photoshop. This ensures the image is transparent.
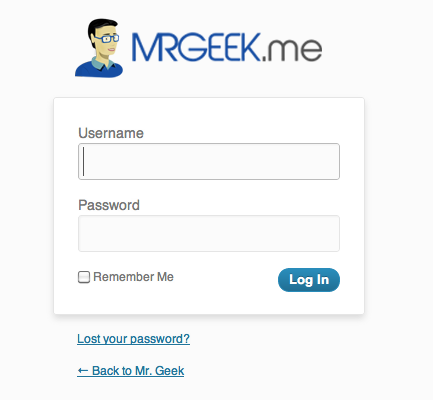
Now repeat the same steps for the logo-login.png, the only caveat being that you will find it at a slightly different place, public_html/yourblog/wp-admin/images/logo-login.png. The final result will look something like this:
About Ali Gajani
Hi. I am Ali Gajani. I started Mr. Geek in early 2012 as a result of my growing enthusiasm and passion for technology. I love sharing my knowledge and helping out the community by creating useful, engaging and compelling content. If you want to write for Mr. Geek, just PM me on my Facebook profile.


