As we have now entered into the information age, a lot of our valuable information is stored in a digital format. It means hackers are actively finding newer ways to break into your digital accounts. This short tutorial is targeted at Gmail users who can enable 2-step verification to make their accounts fully secure.
2-step verification, also known as two-factor authentication, is a security approach that ensures that two different security checks are carried out before the user is allowed to log into a system. I am an active supporter of the 2-step verification because password-only security is too old of an approach to be relied upon, especially when your Gmail/email accounts hold valuable information.
It’s basically like the same level of security that you use to log in to your Internet Banking. For example, my bank only lets me login into the system when I pass their 3-step verification process, which consists of security answer, banking identification number and a randomly generated PIN.
How does 2-step verification work?
2-step verification adds an extra layer of security to your Google Account. In addition to your username and password, you’ll enter a code that Google will send you via text or voice message upon signing in. 2-step verification drastically reduces the chances of having the personal information in your Google account stolen by someone else. Why? Because hackers would have to not only get your password and your username, they’d have to get a hold of your phone.
Setting up 2-step verification
Setting up 2-step verification is very easy. The only requirements are a) to have a working cell number (to receive secure codes by SMS/call) or b) a smartphone (to generate codes by Application)
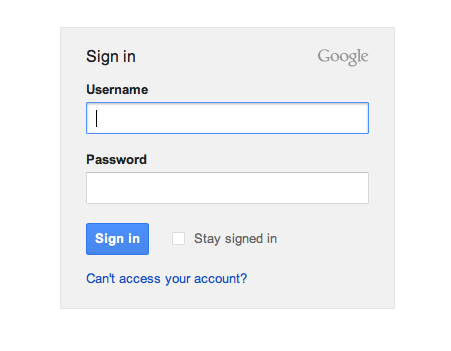
Sign in to your Gmail account with your username and password, like you normally do.
Once signed in, click here. This opens up the Security Centre Dashboard for your Gmail Account.
Click the button “Settings”. This will take you to a page where you will have to enter your cell number and probably might want to add more options for security. Note that you have to make sure you enter as much information as you can.
I suggest that you setup all three code generation options, that are, Mobile Application, Backup Phones and Printable Backup Codes.
Reasons to Select all three options
For example, if your cell reception is dead, you should turn on the Mobile Application feature which allows you to generate the security code using your Blackberry, Android or iOS application.
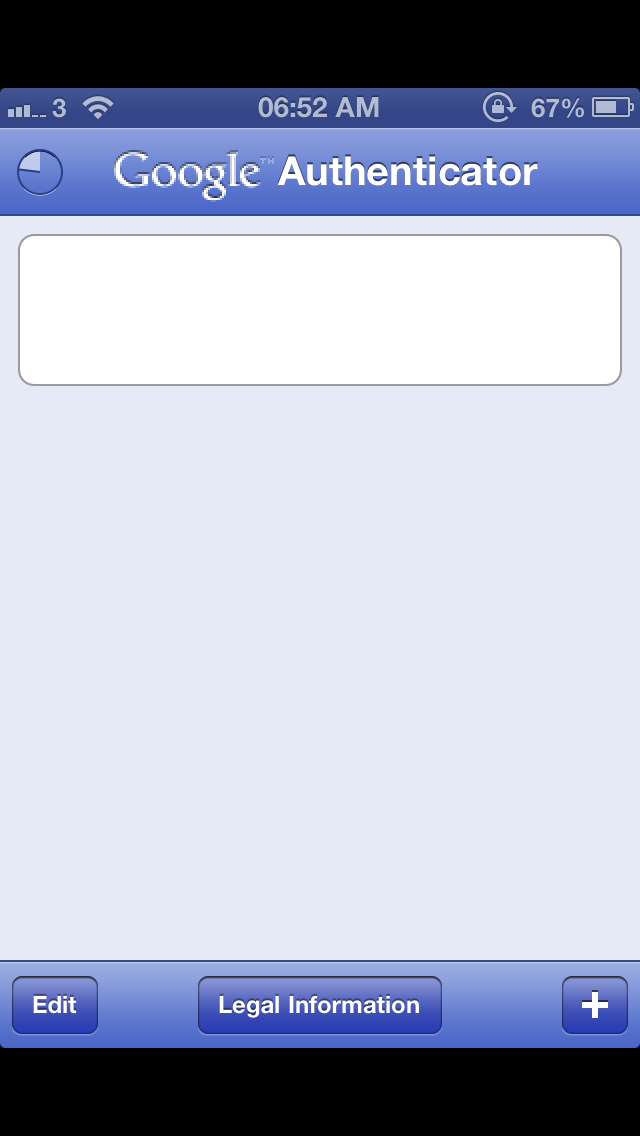
Here is a screenshot of the Google Authenticator app on the iOS. It works without an internet connection. If you choose to set it up and are geeky enough, you’ll know how it works. In a nutshell, it makes you scan a barcode and then algorithm does the rest. It’s pretty cool. I have actually set up the app for 2-step verification as I don’t like receiving SMS codes all the time.
Should you loose cell reception or in worst case, your cell phone, you can use a third option called Printable codes, which allows you login to your Gmail using 10-time-use only codes.
Once you have configured everything, you should check the box that asks you whether you should be notified for password change and suspicious attempts.
Remember, you don’t always have to enter a code if you Select Trust This Computer. This would mean you won’t be asked for the 2-step verification for 30 days unless you change IP address or the Computer.
So what are you waiting for? Secure your Gmail account now!
About Ali Gajani
Hi. I am Ali Gajani. I started Mr. Geek in early 2012 as a result of my growing enthusiasm and passion for technology. I love sharing my knowledge and helping out the community by creating useful, engaging and compelling content. If you want to write for Mr. Geek, just PM me on my Facebook profile.


